
One-Hand Drawer Release
Single-side release drawer slides explained.
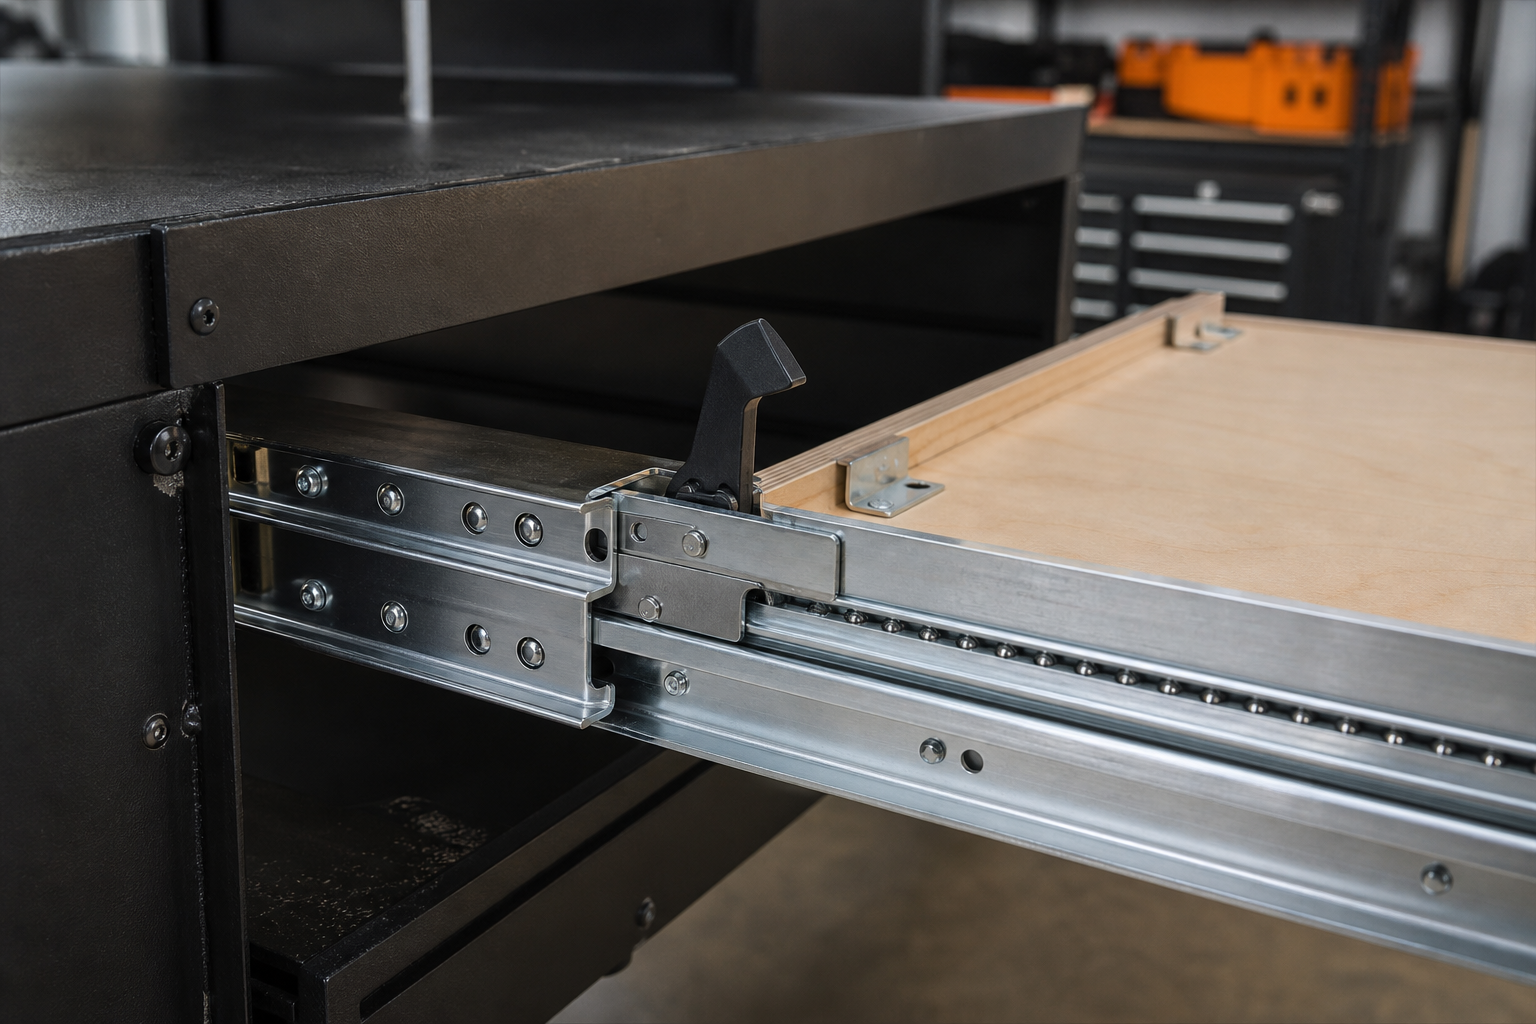
A one-hand drawer release lets the user disengage both slide locks from one reachable location. It can be integrated into the slide pair or created with a builder-supplied linkage connecting two lock levers. The two approaches solve the same reach problem but require different installation, adjustment, and maintenance.
- Published by
- COREAX
- Technical review
- COREAX Product Support
- Published
- Updated
Direct answer
Choose between an integrated mechanism and a custom linkage.
Use an integrated single-side-release slide when you want a defined one-side operating method with fewer project-made parts. Use linkage-ready paired slides when the drawer is longer, heavier, or requires a custom handle position and you can fabricate, align, and test a mechanism that moves both levers equally.
A one-hand release does not eliminate the need for correct side clearance, parallel mounting, complete lock engagement, cargo restraint, or service access. It changes how the locks are operated.
The access problem
Why two independent levers can become impractical.
Many locking slide pairs place one release lever on each side. On a narrow drawer, the user can reach both. On a wide truck drawer, fridge tray, camper kitchen module, or deep equipment platform, the drawer face and enclosure may place the levers several feet apart. Cargo can block one side, and the user may need the other hand to support a heavy tray or appliance.
- The drawer is too wide to reach both sides at the same time.
- One side is next to a vehicle wall, cabinet partition, wheel well, or appliance.
- The drawer face hides the original lever positions.
- The user wears gloves or operates the drawer in poor light.
- The other hand must hold cargo, a fridge lid, a generator handle, or the tray itself.
- The release must be moved to the center or another accessible location.
Release architecture
Integrated single-side release vs builder-supplied linkage.
| Decision | Integrated single-side release | Builder-supplied linkage |
|---|---|---|
| Mechanism | Release transfer is part of the product design | Builder connects two slide levers with bar, rod, tube, cable, or custom assembly |
| Installation work | Choose release side, preserve handle clearance, align the slide pair | Design linkage length, support, travel, stiffness, joints, handle, return, and service access |
| Drawer width flexibility | Limited to the product’s supported sizes and mechanism | Can be adapted to custom width when properly designed |
| Adjustment | Mostly rail and drawer alignment | Rail alignment plus equal lever travel and linkage geometry |
| Failure points | Blocked handle, incorrect release side, rail misalignment | Bending, lost motion, uneven release, loose joints, cable stretch, interference |
| Best fit | Ready one-hand operation for wide/deep pull-outs | Longer, larger custom frames requiring a specific handle location |
Integrated example
COREAX LD2053: choose the release side before building the drawer face.
LD2053 is a side-mount, full-extension, lock-in and lock-out family with an integrated single-side release. Nominal sizes run from 12 to 40 inches, and the product requires approximately 19 mm of side space per rail. The mechanism is intended to let the user operate the pair from one side rather than reaching both tabs.
Linkage-ready example
COREAX L2576: the builder owns the linkage.
L2576 uses two L-shaped locking levers with inward-facing connection points. The slides can be operated with their standard levers or connected by a builder-supplied linkage. Sizes run from 20 to 60 inches, the profile is approximately 76 mm high by 19 mm thick, and published pair ratings decrease by length.
The linkage is not included because drawer widths, handle positions, frame geometry, and fabrication methods differ. That flexibility also creates responsibility: the connection must release both sides at the same time without bending, binding, over-traveling a lever, or entering the slide path.
Custom linkage workflow
Design and validate the release as a mechanism.
- 01Measure lever travel on both slides
Do not assume the two levers begin at identical positions after mounting. Record locked and fully released positions.
- 02Choose the handle location
Place it where the user can reach it with the drawer face, trim, cargo, gloves, and surrounding structure installed.
- 03Select linkage material and supports
Limit bending, twisting, cable movement, and unsupported span. Keep the linkage out of the rail and cargo paths.
- 04Provide equal adjustment
Use slotted joints, threaded ends, cable adjusters, or another controlled method so both levers release fully at the same handle movement.
- 05Add travel stops
Prevent the handle from forcing the levers beyond their intended range or pulling one side after the other is already released.
- 06Test locked, released, and misaligned cases
Cycle empty and loaded. Confirm both locks re-engage and the mechanism does not remain partially released.
- 07Document service procedure
Make joints accessible and record how to inspect, adjust, or disconnect the linkage.
Failure modes
One-hand operation can hide uneven release.
Pre-order checks
Decide the release before choosing the drawer width.
- Which side or center location remains reachable?
- Can the user operate the release while supporting the tray?
- Will the drawer face cover or interfere with the lever?
- Does the product support the required length and working load?
- Is there approximately 19 mm side space per rail plus the required mechanism envelope?
- Can a linkage run without crossing cargo, cables, hoses, locks, or rail members?
- Can both sides be inspected and adjusted after assembly?
- Does the system need an external travel latch or cargo restraint in addition to slide locks?
Evidence and mechanism terminology
Release and disconnect are model-specific mechanisms.
Manufacturer sourcesAccuride’s disconnect guide identifies lever, push-latch, rail, and friction disconnect methods as distinct mechanisms. Its 9300 family separately identifies lock-in/lock-out variants and lever operation. These examples support checking the exact mechanism rather than assuming every lever performs one-side release or drawer removal.
- Accuride Disconnect MethodsManufacturer explanation of lever, push-latch, rail, friction, and non-disconnect designs.
- Accuride 9300 SeriesOfficial example of lock-in/lock-out variants and lever-operated end-position locks.
Evidence boundary: External examples do not describe COREAX’s internal mechanism or certify a custom linkage. COREAX statements come from current product data. Any builder-supplied linkage is part of the custom installation and must be fabricated, adjusted, tested, and maintained accordingly.
COREAX product path
Choose convenience or customization deliberately.
Use LD2053 when an integrated one-side release, 12–40 inch length range, and applicable load fit the build. Use L2576 when the larger 20–60 inch system and size-specific rating are needed and you can build a reliable linkage. Send the drawer width, length, moving weight, handle location, and linkage concept for fit guidance.
Common questions
Single-side release FAQ
What is a single-side release drawer slide?
It is a slide system that lets the user disengage both relevant locks from one accessible side or handle location instead of operating two distant levers independently.
Is the L2576 one-hand linkage included?
No. L2576 includes linkage-ready L-shaped levers, but the builder supplies, fits, adjusts, tests, and maintains the bar, rod, cable, tube, or other connection.
Can I connect two ordinary locking-slide levers with any bar?
Not safely by assumption. The levers must support the connection, and the linkage needs equal travel, stiffness, stops, return action, clearance, and service access.
Does one-hand release replace an external latch?
No. It operates the slide locks. The completed vehicle or equipment drawer may still need a separate latch, cargo restraint, or other safety control.
Expanded the page into an integrated-vs-linkage comparison with LD2053 and L2576 examples, seven-step linkage workflow, failure modes, access checklist, manufacturer sources, evidence boundary, and FAQ.
Move to the next decision.
Use the next guide in the same planning path, then verify the exact product before ordering.