
Drawer Slide Installation QA
Drawer slide installation mistakes to avoid.
Most installation problems are not caused by one dramatic error. They come from a chain: guessed measurements, a flexible frame, early final tightening, proud screw heads, blocked release access, and testing only while empty. Use this staged QA process before the drawer enters service.
- Published by
- COREAX
- Technical review
- COREAX Product Support
- Published
- Updated
Direct answer
Do not fully tighten the slides until the complete drawer cycles correctly.
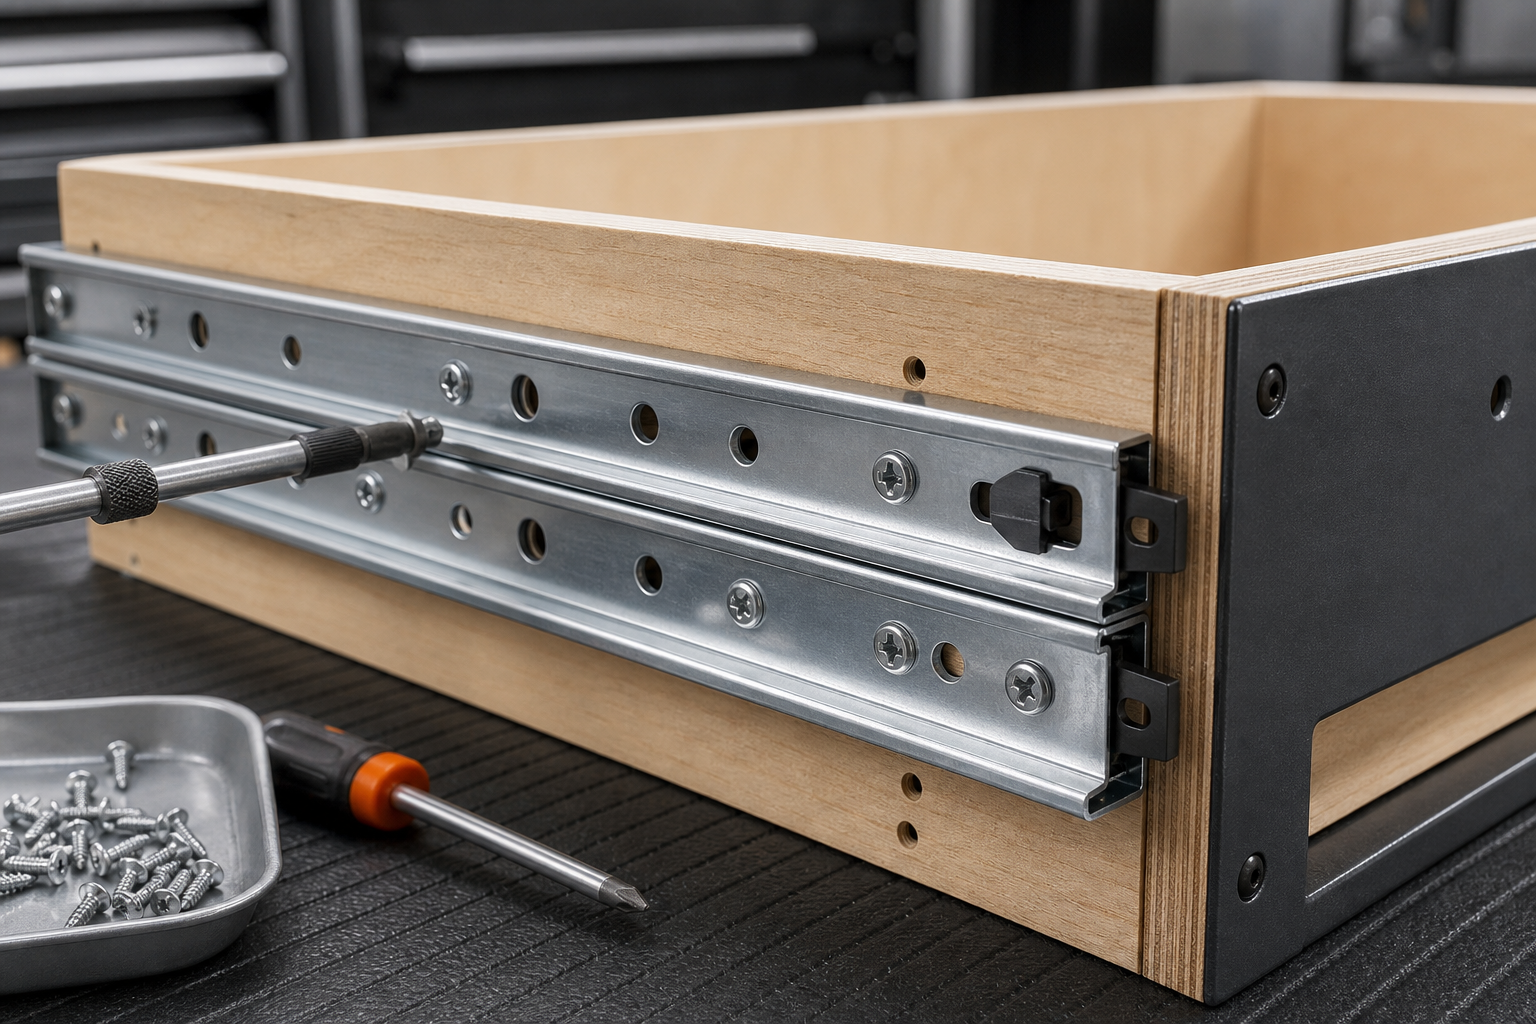
Measure the frame at rail height, install the rails loosely using adjustment slots, check parallelism, mount the drawer, cycle it empty, verify lock and release access, tighten in stages, and then increase load gradually. At each stage, inspect screw-head clearance, rail movement, drawer sag, and frame flex.
If a drawer feels rough, stop and identify the exact travel point and condition. Lubrication cannot correct a twisted frame, tight side space, proud fastener, sagging shelf, or mismatched orientation.
Staged installation
Use six acceptance gates instead of one final test.
- 01Frame gate
Confirm both mounting faces are straight, stiff, level relative to each other, and parallel at the front, middle, and rear. Correct the frame before installing the rails.
- 02Rail-only gate
Install each rail with a limited number of loose fasteners. Move the members by hand and confirm no screw head, burr, or frame edge enters the path.
- 03Empty-drawer gate
Attach the drawer or tray, cycle slowly, verify the face and rear clearances, and check that both locks engage at the same positions.
- 04Final-fastener gate
Adjust alignment while the rails are still movable, then add final fasteners in intended round holes and tighten in a balanced sequence.
- 05Loaded gate
Add weight in steps and repeat the full travel. Observe front drop, frame spread, screw movement, lock alignment, noise, and return force.
- 06Service gate
For mobile installations, recheck after initial travel. For all installations, confirm the drawer can be removed or serviced without dismantling unrelated equipment.
Mistake map
Twelve common mistakes and what they cause.
Symptom-to-cause diagnosis
Use the exact symptom to narrow the correction.
| Symptom | Likely causes | First checks |
|---|---|---|
| Hard from the first inch | Front width too tight, drawer face rubbing, lock not fully released | Measure front opening; inspect lever travel and face clearance |
| Hard near the rear | Frame tapers inward, rear fastener interference, rear rail height mismatch | Measure middle/rear widths; inspect rear screws and brackets |
| Clicks at one repeatable point | Proud screw head, bolt end, burr, debris | Mark the travel point and watch member overlap while moving slowly |
| Smooth empty, binds loaded | Frame flex, drawer sag, front-heavy load, fastener movement | Compare unloaded/loaded rail spacing and front-edge drop |
| One lock engages first | Rail setback mismatch, drawer racking, linkage travel imbalance | Compare closed/open stop positions and release movement on both sides |
| Drawer rattles side to side | Excess side space, frame spread, loose fasteners, flexible drawer | Measure rail spacing and drawer width; inspect joint movement |
| Drawer rolls open | No lock-in, weak detent, cabinet out of level, latch not engaged | Identify actual restraint mechanism; check level and latch position |
| Drawer rolls closed | No lock-out, sloped installation, incomplete latch engagement | Confirm model lock-out function and open-position alignment |
Installation evidence
Create a photo record that can diagnose later movement.
Because this guide cannot show your actual frame, document the installation before cargo covers it. Use straight-on, well-lit photographs with a ruler or reference mark where useful. The purpose is not marketing; it is to compare geometry before and after loaded service.
- Left and right mounting faces before rails are installed.
- Front, middle, and rear opening-width measurements.
- Each rail’s front and rear setback.
- Fastener heads in every accessible member position.
- Lock lever and release clearance with the drawer face installed.
- Drawer at closed, halfway, and full-extension positions.
- Frame and drawer front under representative load.
- Custom linkage geometry at both locked and released positions.
If a problem develops, repeat the same photographs and measurements. A changing gap, screw position, or front-edge drop can reveal movement that is difficult to feel by hand.
Product-family differences
The installation sequence changes with the mechanism.
Tightening sequence
Keep adjustment available until the system proves itself.
- 01Set both rails to the same datum
Use a reference line, spacer, jig, or measured marks rather than the cabinet edge if that edge is not straight.
- 02Install front and rear adjustment fasteners loosely
The rails should be secure enough to test but still able to shift for alignment.
- 03Cycle and center the drawer
Adjust height, parallelism, setback, face alignment, and lock engagement.
- 04Tighten incrementally left and right
Avoid pulling one rail inward or twisting the frame by fully tightening one side first.
- 05Add final round-hole fasteners
Use the selected substrate-specific connection and recheck head clearance.
- 06Repeat loaded cycling
Stop if effort, noise, or alignment changes. Correct the structure rather than forcing the drawer.
Final acceptance
Do not release the drawer for service until every item passes.
- One H1 equivalent in the physical build: one clearly identified opening and one matching drawer.
- Rails are parallel at closed, halfway, and full extension.
- No screw head, bolt end, washer, burr, or wire enters the moving path.
- Drawer remains square and does not visibly sag under intended load.
- Lock-in and lock-out engage completely and release deliberately.
- Custom linkage releases both sides without bending or binding.
- External latch and cargo restraint operate independently where required.
- Full travel clears doors, tailgates, countertops, lids, hoses, and cables.
- Fasteners and frame show no movement after repeated loaded cycles.
- Service removal is possible and documented.
Evidence and installation boundary
Exact-model instructions outrank generic installation advice.
Manufacturer sourcesBlum publishes separate runner instruction sheets by exact kit and directs installers to match the package code to the correct instructions. Accuride explains that slide performance is evaluated through mounted fixtures, cycling, deflection, full-extension static loading, and impact testing. These sources support staged, model-specific installation and loaded validation.
- Blum Runner Assembly InstructionsOfficial model-specific installation sheets and kit matching for concealed runner systems.
- Accuride Load Rating Test OverviewManufacturer description of mounted-fixture cycling, deflection measurement, full-extension static testing, and stop impact tests.
Evidence boundary: This page is an installation QA framework, not a substitute for exact COREAX product instructions, manufacturer fastener data, vehicle-body guidance, building codes, or engineering review. The concept image is not a COREAX laboratory test record.
Troubleshooting support
Send evidence that shows the geometry and the symptom.
For support, include the product and length, opening measurements, drawer outside width, complete moving load, mounting material, fastener type, stationary/mobile use, exact point where the symptom begins, and the photo record above. Do not continue forcing a binding or partially locked drawer.
Common questions
Installation mistakes FAQ
Should I tighten all drawer-slide screws before testing?
No. Use adjustment slots and limited loose fastening first, cycle the drawer, correct alignment, then add final fasteners and tighten in stages.
Why do new slides feel rough only after the drawer is installed?
The drawer may be forcing the rails out of parallel, the side space may be too tight, a screw head may contact a moving member, or the drawer/frame may be twisted.
Can lubrication fix drawer-slide binding?
Lubrication cannot fix incorrect width, frame flex, screw interference, sag, or lock misalignment. Identify and correct the mechanical cause first.
How should I test a vehicle drawer before driving?
Cycle empty, add representative load gradually, verify closed and open restraints, inspect fasteners and frame movement, secure cargo, and retest after initial road use.
Added six acceptance gates, twelve-mistake map, symptom diagnosis, installation photo record, COREAX family-specific checks, tightening sequence, final acceptance list, sources, and FAQ.
Move to the next decision.
Use the next guide in the same planning path, then verify the exact product before ordering.