Installation Guide
How to install bottom-mount drawer slides.
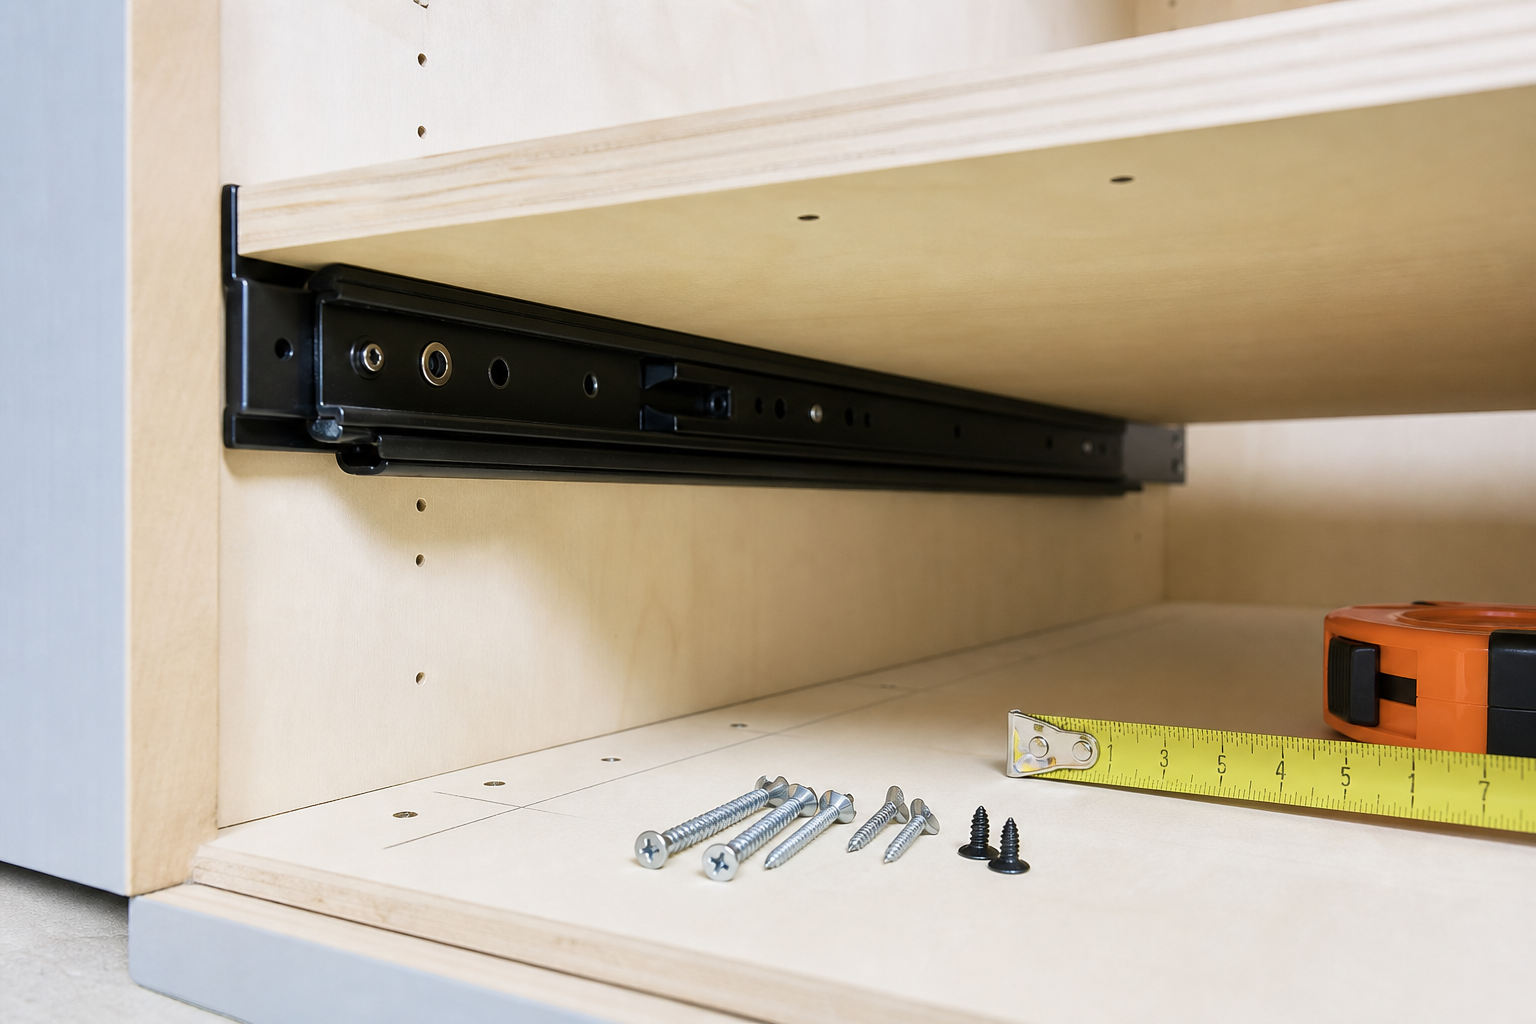
Bottom-mount slide installation is mostly about a flat shelf, parallel rails, accurate pilot holes, and access inside the cabinet. Use this guide before drilling in a tight kitchen, pantry, bathroom, RV, or utility cabinet.
Quick answer
Install bottom-mount drawer slides by confirming the shelf is flat, marking both rail positions from the same reference edge, drilling pilot holes, loosely fastening the rails, checking parallel movement, then tightening only after the pull-out moves cleanly through its full travel.
Before you drill
Dry fit the pull-out shelf inside the cabinet. Check that the door can open far enough, hinges do not hit the shelf edge, and the shelf can clear plumbing, back panels, face frames, and toe-kick areas. In tight lower cabinets, installation is slower because you have less room to hold a driver square to the screw.
Bottom-supported slides are less forgiving when the shelf twists. If the shelf rocks on a flat table, fix that first. A warped shelf can make the slide feel defective even when the rail spacing is correct.
Step-by-step installation flow
Fastener planning matters
Use screws that match the slide holes, shelf material, and cabinet base. A screw that is too long can poke through the shelf. A head that is too tall can interfere with the moving slide member. A screw that is too short may hold during the first test but loosen after repeated loading.
For a fastener-specific checklist, read What Screws to Use for Bottom-Mount Drawer Slides.
Common installation problems
- Rail spacing changes from front to rear.
- The shelf is not flat or is too thin for the load.
- Screw heads rub against the moving slide.
- The cabinet floor flexes under the pull-out.
- Face frames, hinges, or doors reduce the usable opening.
- The load sits too far forward and makes the shelf sag at full extension.
If the shelf feels tight after installation, compare your build against Why Pull-Out Shelves Bind or Sag.
COREAX product match
COREAX undermount drawer slides are intended for bottom-supported pull-outs such as shelves, trays, trash cabinets, pantry organizers, and compact RV storage.
View Undermount Drawer SlidesFAQ
Are bottom-mount slides hard to install?
They can be straightforward if the cabinet is square and the shelf is flat. Tight lower cabinets take more time because access for marking, drilling, and driving screws is limited.
Should I fully tighten the screws right away?
No. Start loosely, test movement, then tighten in stages. This helps prevent small alignment errors from becoming binding.
Do I need pilot holes?
Pilot holes are strongly recommended for clean alignment and better screw control, especially in plywood, hardwood, or laminated panels.